Get started with K8sGateway
Get started with K8sGateway, a cloud-native Layer 7 proxy that is based on the Envoy and Kubernetes Gateway API projects.
In this quickstart guide, you install K8sGateway in a Kubernetes cluster, set up an API gateway, deploy a sample app, and access that app through the API gateway.
The guide includes steps to install K8sGateway in three ways.
glooctl CLI is an open source command line interface (CLI) tool that is built for the K8sGateway project. It uses Helm files under the covers to quickly install K8sGateway for you. As such, this approach is suitable for quick testing, but also adaptable for larger installations down the road.
Before you begin
- Create or use an existing Kubernetes cluster.
- Install the following command-line tools.
kubectl, the Kubernetes command line tool. Download thekubectlversion that is within one minor version of the Kubernetes clusters you plan to use.helm, the Kubernetes package manager.glooctl, the K8sGateway command line tool.- Linux and macOS:
curl -sL https://run.solo.io/glooctl/install | GLOO_VERSION=v1.18.0-beta34 sh - export PATH=$HOME/.gloo/bin:$PATH - Windows: Notes that this script requires OpenSSL.
(New-Object System.Net.WebClient).DownloadString("https://run.solo.io/gloo/windows/install") | iex
$env:Path += ";$env:userprofile/.gloo/bin/"
- Linux and macOS:
- Create or use an existing Kubernetes cluster.
- Install the following command-line tools.
- Install Argo CD in your cluster.
kubectl create namespace argocd until kubectl apply -n argocd -f https://raw.githubusercontent.com/argoproj/argo-cd/v2.12.3/manifests/install.yaml > /dev/null 2>&1; do sleep 2; done # wait for deployment to complete kubectl -n argocd rollout status deploy/argocd-applicationset-controller kubectl -n argocd rollout status deploy/argocd-dex-server kubectl -n argocd rollout status deploy/argocd-notifications-controller kubectl -n argocd rollout status deploy/argocd-redis kubectl -n argocd rollout status deploy/argocd-repo-server kubectl -n argocd rollout status deploy/argocd-server - Update the default Argo CD password for the admin user to
k8sgateway.# bcrypt(password)=$2a$10$g3bspLL4iTNQHxJpmPS0A.MtyOiVvdRk1Ds5whv.qSdnKUmqYVyxa # password: k8sgateway kubectl -n argocd patch secret argocd-secret \ -p '{"stringData": { "admin.password": "$2a$10$g3bspLL4iTNQHxJpmPS0A.MtyOiVvdRk1Ds5whv.qSdnKUmqYVyxa", "admin.passwordMtime": "'$(date +%FT%T%Z)'" }}'
Install K8sGateway
Install the open source K8sGateway project in your Kubernetes cluster.
- Install the custom resources of the Kubernetes Gateway API version 1.2.0.
Example output:
kubectl apply -f https://github.com/kubernetes-sigs/gateway-api/releases/download/v1.2.0/standard-install.yamlcustomresourcedefinition.apiextensions.k8s.io/gatewayclasses.gateway.networking.k8s.io created customresourcedefinition.apiextensions.k8s.io/gateways.gateway.networking.k8s.io created customresourcedefinition.apiextensions.k8s.io/httproutes.gateway.networking.k8s.io created customresourcedefinition.apiextensions.k8s.io/referencegrants.gateway.networking.k8s.io created customresourcedefinition.apiextensions.k8s.io/grpcroutes.gateway.networking.k8s.io created
If you want to use TCPRoutes to set up a TCP listener on your Gateway, you must install the TCPRoute CRD, which is part of the Kubernetes Gateway API experimental channel. Use the following command to install the CRDs.
kubectl apply -f https://github.com/kubernetes-sigs/gateway-api/releases/download/v1.2.0/experimental-install.yaml -
Install K8sGateway.
This command creates the
gloo-systemnamespace and installs the K8sGateway control plane into it.glooctl install gateway \ --version 1.18.0-beta34 \ --values - << EOF discovery: enabled: false gatewayProxies: gatewayProxy: disabled: true gloo: disableLeaderElection: true kubeGateway: enabled: true EOF -
Verify that the K8sGateway control plane is up and running.
kubectl get pods -n gloo-system | grep glooExample output:
NAME READY STATUS RESTARTS AGE gloo-78658959cd-cz6jt 1/1 Running 0 12s -
Verify that the
gloo-gatewayGatewayClass is created. You can optionally take a look at how the gateway class is configured by adding the-o yamloption to your command.kubectl get gatewayclass gloo-gateway
- Install the custom resources of the Kubernetes Gateway API version 1.2.0.
Example output:
kubectl apply -f https://github.com/kubernetes-sigs/gateway-api/releases/download/v1.2.0/standard-install.yamlcustomresourcedefinition.apiextensions.k8s.io/gatewayclasses.gateway.networking.k8s.io created customresourcedefinition.apiextensions.k8s.io/gateways.gateway.networking.k8s.io created customresourcedefinition.apiextensions.k8s.io/httproutes.gateway.networking.k8s.io created customresourcedefinition.apiextensions.k8s.io/referencegrants.gateway.networking.k8s.io created customresourcedefinition.apiextensions.k8s.io/grpcroutes.gateway.networking.k8s.io created
If you want to use TCPRoutes to set up a TCP listener on your Gateway, you must install the TCPRoute CRD, which is part of the Kubernetes Gateway API experimental channel. Use the following command to install the CRDs.
kubectl apply -f https://github.com/kubernetes-sigs/gateway-api/releases/download/v1.2.0/experimental-install.yaml -
Add the Helm repository for K8sGateway Open Source.
helm repo add gloo https://storage.googleapis.com/solo-public-helm helm repo update -
Install K8sGateway. This command creates the
gloo-systemnamespace and installs the K8sGateway control plane into it.helm install -n gloo-system gloo-gateway gloo/gloo \ --create-namespace \ --version 1.18.0-beta34 \ -f -<<EOF discovery: enabled: false gatewayProxies: gatewayProxy: disabled: true gloo: disableLeaderElection: true kubeGateway: enabled: true EOFExample output:
NAME: gloo-gateway LAST DEPLOYED: Thu Apr 18 11:50:39 2024 NAMESPACE: gloo-system STATUS: deployed REVISION: 2 TEST SUITE: None -
Verify that the K8sGateway control plane is up and running.
kubectl get pods -n gloo-system | grep glooExample output:
NAME READY STATUS RESTARTS AGE gloo-78658959cd-cz6jt 1/1 Running 0 12s -
Verify that the
gloo-gatewayGatewayClass is created. You can optionally take a look at how the gateway class is configured by adding the-o yamloption to your command.kubectl get gatewayclass gloo-gateway
- Install the custom resources of the Kubernetes Gateway API version 1.2.0.
Example output:
kubectl apply -f https://github.com/kubernetes-sigs/gateway-api/releases/download/v1.2.0/standard-install.yamlcustomresourcedefinition.apiextensions.k8s.io/gatewayclasses.gateway.networking.k8s.io created customresourcedefinition.apiextensions.k8s.io/gateways.gateway.networking.k8s.io created customresourcedefinition.apiextensions.k8s.io/httproutes.gateway.networking.k8s.io created customresourcedefinition.apiextensions.k8s.io/referencegrants.gateway.networking.k8s.io created customresourcedefinition.apiextensions.k8s.io/grpcroutes.gateway.networking.k8s.io created
If you want to use TCPRoutes to set up a TCP listener on your Gateway, you must install the TCPRoute CRD, which is part of the Kubernetes Gateway API experimental channel. Use the following command to install the CRDs.
kubectl apply -f https://github.com/kubernetes-sigs/gateway-api/releases/download/v1.2.0/experimental-install.yaml -
Port-forward the Argo CD server on port 9999.
kubectl port-forward svc/argocd-server -n argocd 9999:443 -
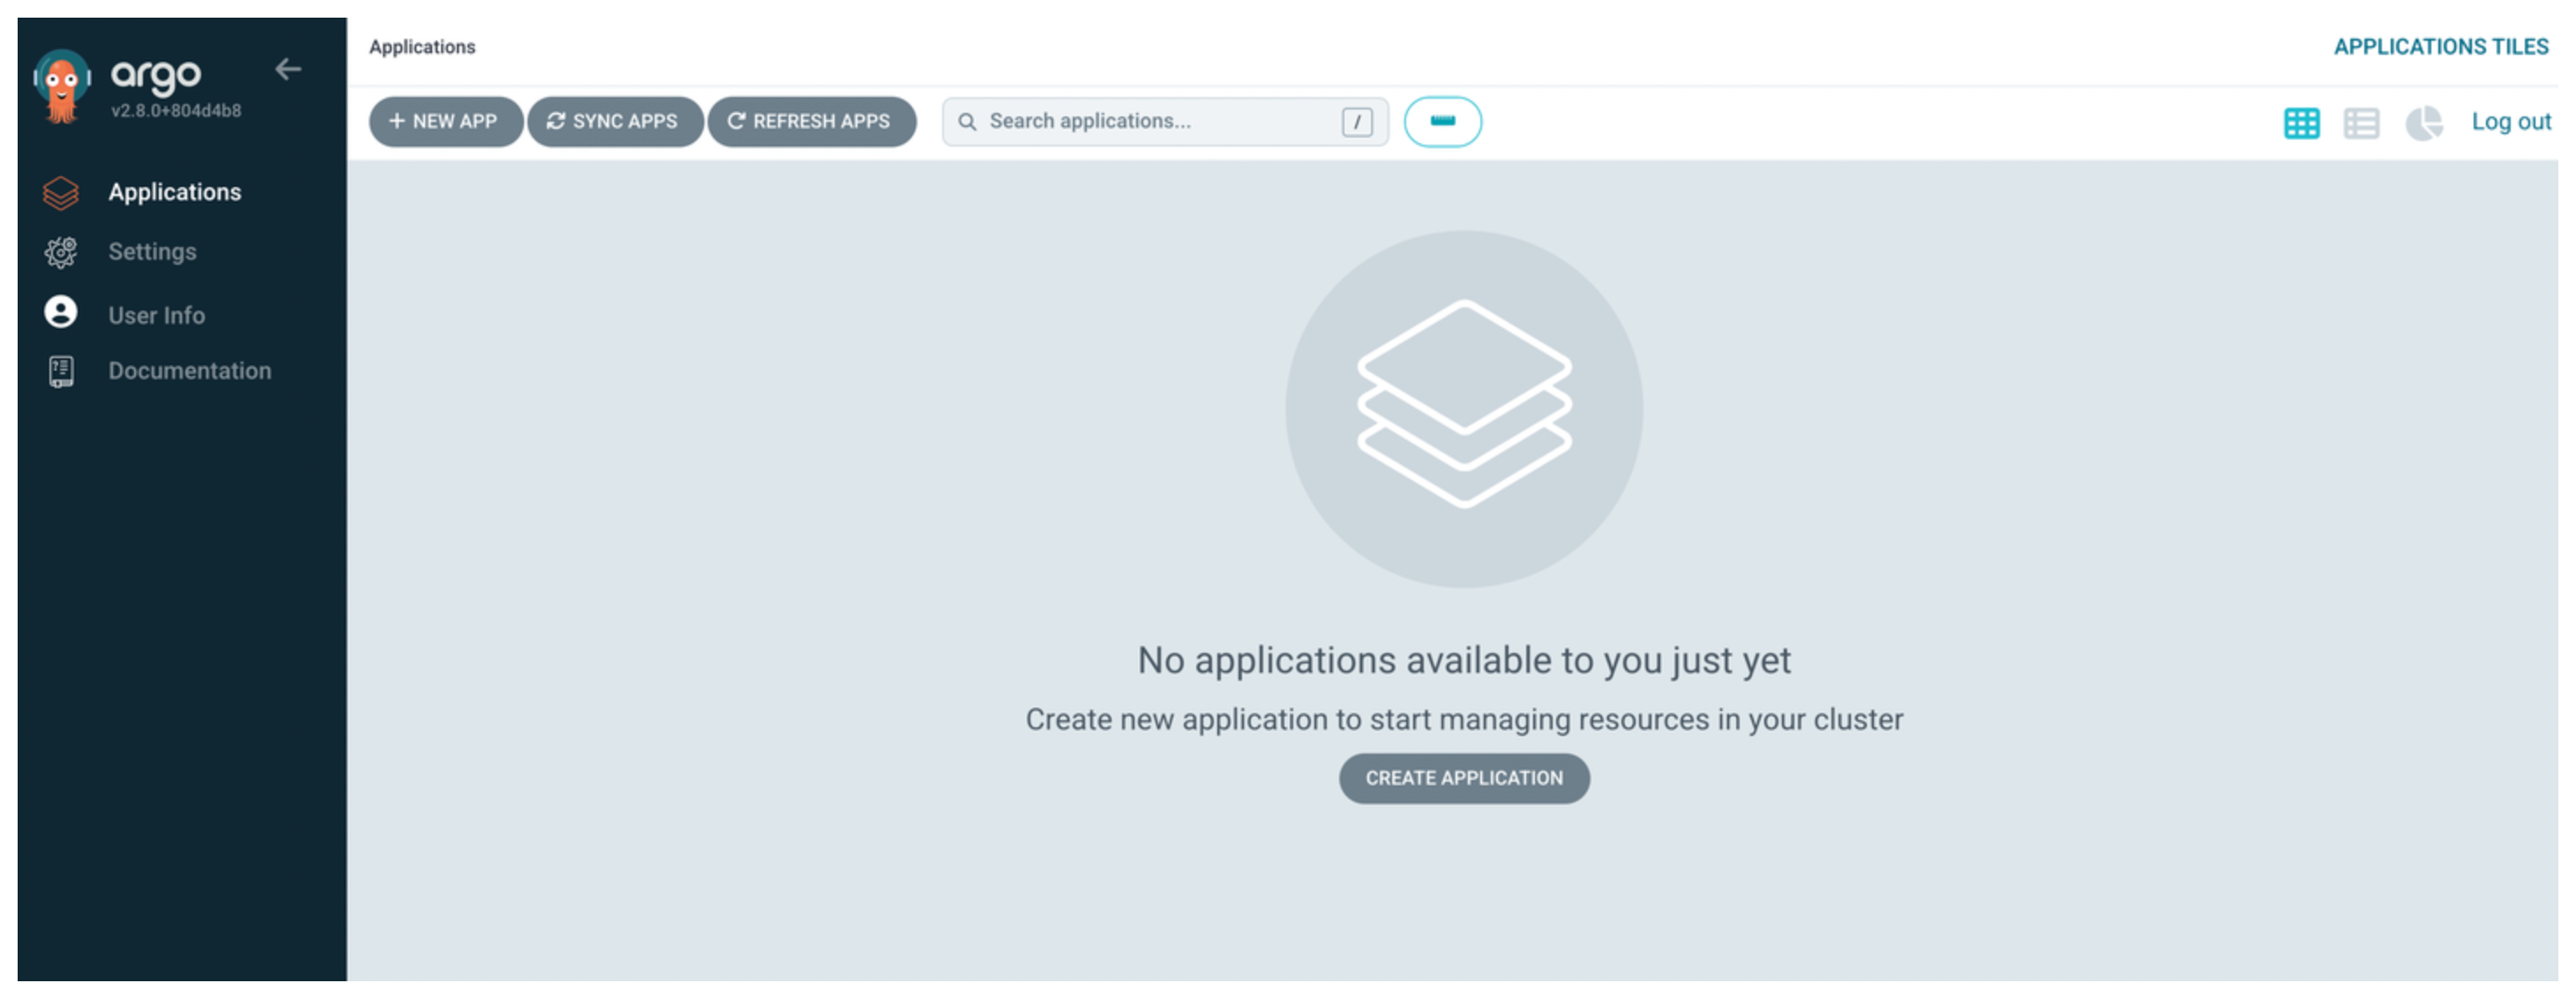
Open the Argo CD UI.
-
Log in with the
adminusername andk8sgatewaypassword.
-
Create an Argo CD application to install the K8sGateway Helm chart.
kubectl apply -f- <<EOF apiVersion: argoproj.io/v1alpha1 kind: Application metadata: name: k8sgateway-oss-helm namespace: argocd spec: destination: namespace: gloo-system server: https://kubernetes.default.svc project: default source: chart: gloo helm: skipCrds: false values: | kubeGateway: # Enable Kubernetes Gateway API integration enabled: true gatewayProxies: gatewayProxy: disabled: true gloo: disableLeaderElection: true discovery: # For demo purposes, disable discovery enabled: false repoURL: https://storage.googleapis.com/solo-public-helm targetRevision: 1.18.0-beta34 syncPolicy: automated: # Prune resources during auto-syncing (default is false) prune: true # Sync the app in part when resources are changed only in the target Kubernetes cluster # but not in the git source (default is false). selfHeal: true syncOptions: - CreateNamespace=true EOF -
Verify that the
gloocontrol plane is up and running.kubectl get pods -n gloo-systemExample output:
NAME READY STATUS RESTARTS AGE gateway-certgen-wfz9z 0/1 Completed 0 35s gloo-78f4cc8fc6-6hmsq 1/1 Running 0 21s gloo-resource-migration-sx5z4 0/1 Completed 0 48s gloo-resource-rollout-28gj6 0/1 Completed 0 21s gloo-resource-rollout-check-tjdp7 0/1 Completed 0 2s gloo-resource-rollout-cleanup-nj4t8 0/1 Completed 0 39s -
Verify that the
gloo-gatewayGatewayClass is created. You can optionally take a look at how the gateway class is configured by adding the-o yamloption to your command.kubectl get gatewayclass gloo-gateway -
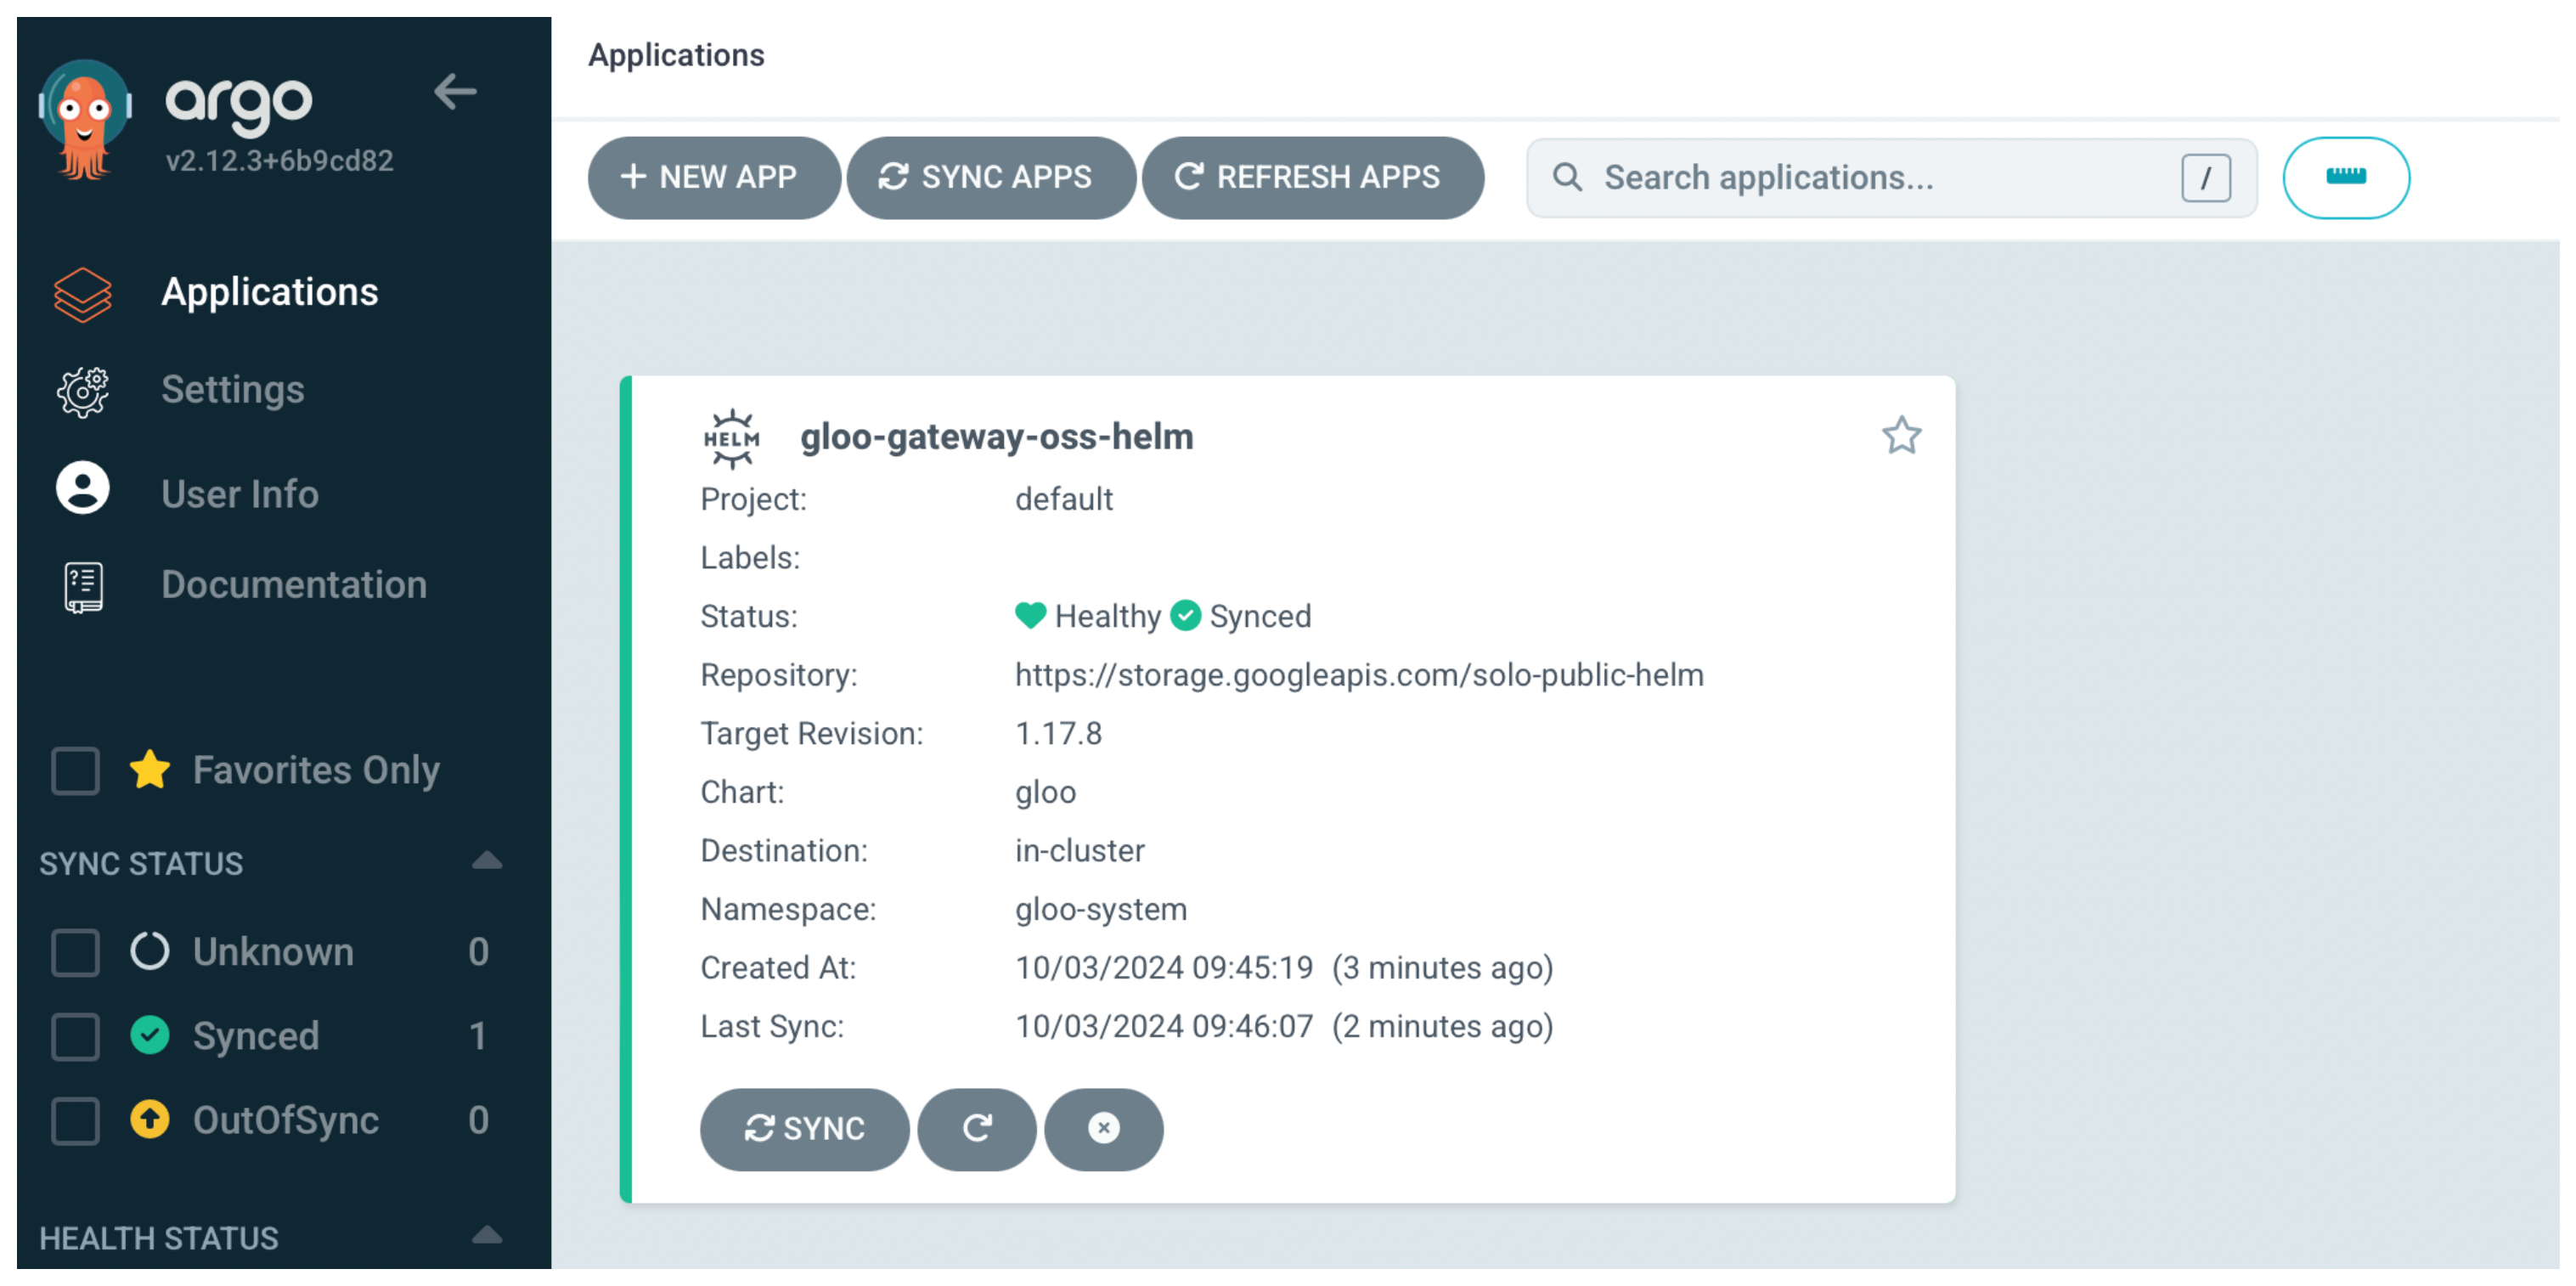
Open the Argo CD UI and verify that you see the Argo CD application with a
HealthyandSyncedstatus.
Set up an API gateway
-
Create a gateway resource and configure an HTTP listener. The following gateway can serve HTTP resources from all namespaces.
kubectl apply -n gloo-system -f- <<EOF kind: Gateway apiVersion: gateway.networking.k8s.io/v1 metadata: name: http spec: gatewayClassName: gloo-gateway listeners: - protocol: HTTP port: 8080 name: http allowedRoutes: namespaces: from: All EOF -
Verify that the gateway is created successfully. You can also review the external address that is assigned to the gateway. Note that depending on your environment it might take a few minutes for the load balancer service to be assigned an external address.
kubectl get gateway http -n gloo-systemExample output:
NAME   CLASS          ADDRESS                                                                  PROGRAMMED   AGE
http   gloo-gateway   a3a6c06e2f4154185bf3f8af46abf22e-139567718.us-east-2.elb.amazonaws.com   True         93s
Deploy a sample app
-
Create the httpbin namespace.
kubectl create ns httpbin -
Deploy the httpbin app.
kubectl -n httpbin apply -f https://raw.githubusercontent.com/solo-io/gloo-mesh-use-cases/main/policy-demo/httpbin.yaml -
Verify that the httpbin app is running.
kubectl -n httpbin get podsExample output:
NAME                      READY   STATUS    RESTARTS   AGE
httpbin-d57c95548-nz98t   3/3     Running   0          18s
Expose the app on the gateway
-
Create an HTTPRoute resource to expose the httpbin app on the gateway. The following example exposes the app on the
wwww.example.comdomain.kubectl apply -f- <<EOF apiVersion: gateway.networking.k8s.io/v1 kind: HTTPRoute metadata: name: httpbin namespace: httpbin labels: example: httpbin-route spec: parentRefs: - name: http namespace: gloo-system hostnames: - "www.example.com" rules: - backendRefs: - name: httpbin port: 8000 EOFSetting Description spec.parentRefsThe name and namespace of the gateway resource that serves the route. In this example, you use the HTTP gateway that you created earlier. spec.hostnamesA list of hostnames that the route is exposed on. spec.rules.backendRefsThe Kubernetes service that serves the incoming request. In this example, requests to www.example.comare forwarded to the httpbin app on port 9000. Note that you must create the HTTP route in the same namespace as the service that serves that route. To create the HTTP route resource in a different namespace, you must create a ReferenceGrant resource to allow the HTTP route to forward requests to a service in a different namespace. For more information, see the Kubernetes API Gateway documentation. -
Verify that the HTTPRoute is applied successfully.
kubectl get -n httpbin httproute/httpbin -o yaml -
Send a request to the httpbin app.
-
Get the external address of the gateway and save it in an environment variable.
export INGRESS_GW_ADDRESS=$(kubectl get svc -n gloo-system gloo-proxy-http -o=jsonpath="{.status.loadBalancer.ingress[0]['hostname','ip']}") echo $INGRESS_GW_ADDRESS -
Send a request to the httpbin app and verify that you get back a 200 HTTP response code. Note that it might take a few seconds for the load balancer service to become fully ready and accept traffic.
curl -i http://$INGRESS_GW_ADDRESS:8080/headers -H "host: www.example.com:8080"Example output:
HTTP/1.1 200 OK
server: envoy
date: Wed, 17 Jan 2024 17:32:21 GMT
content-type: application/json
content-length: 211
access-control-allow-origin: *
access-control-allow-credentials: true
x-envoy-upstream-service-time: 2
-
Port-forward the
gloo-proxy-httppod on port 8080.kubectl port-forward deployment/gloo-proxy-http -n gloo-system 8080:8080 -
Send a request to the httpbin app and verify that you get back a 200 HTTP response code.
curl -i localhost:8080/headers -H "host: www.example.com"Example output:
HTTP/1.1 200 OK
server: envoy
date: Wed, 17 Jan 2024 17:32:21 GMT
content-type: application/json
content-length: 211
access-control-allow-origin: *
access-control-allow-credentials: true
x-envoy-upstream-service-time: 2
-
Next steps
Now that you have K8sGateway set up and running, check out the following guides to expand your API gateway capabilities.
- Learn more about K8sGateway, its features and benefits.
- Add routing capabilities to your httpbin route by using the Traffic management guides.
- Explore ways to make your routes more resilient by using the Resiliency guides.
- Secure your routes with external authentication and rate limiting policies by using the Security guides.